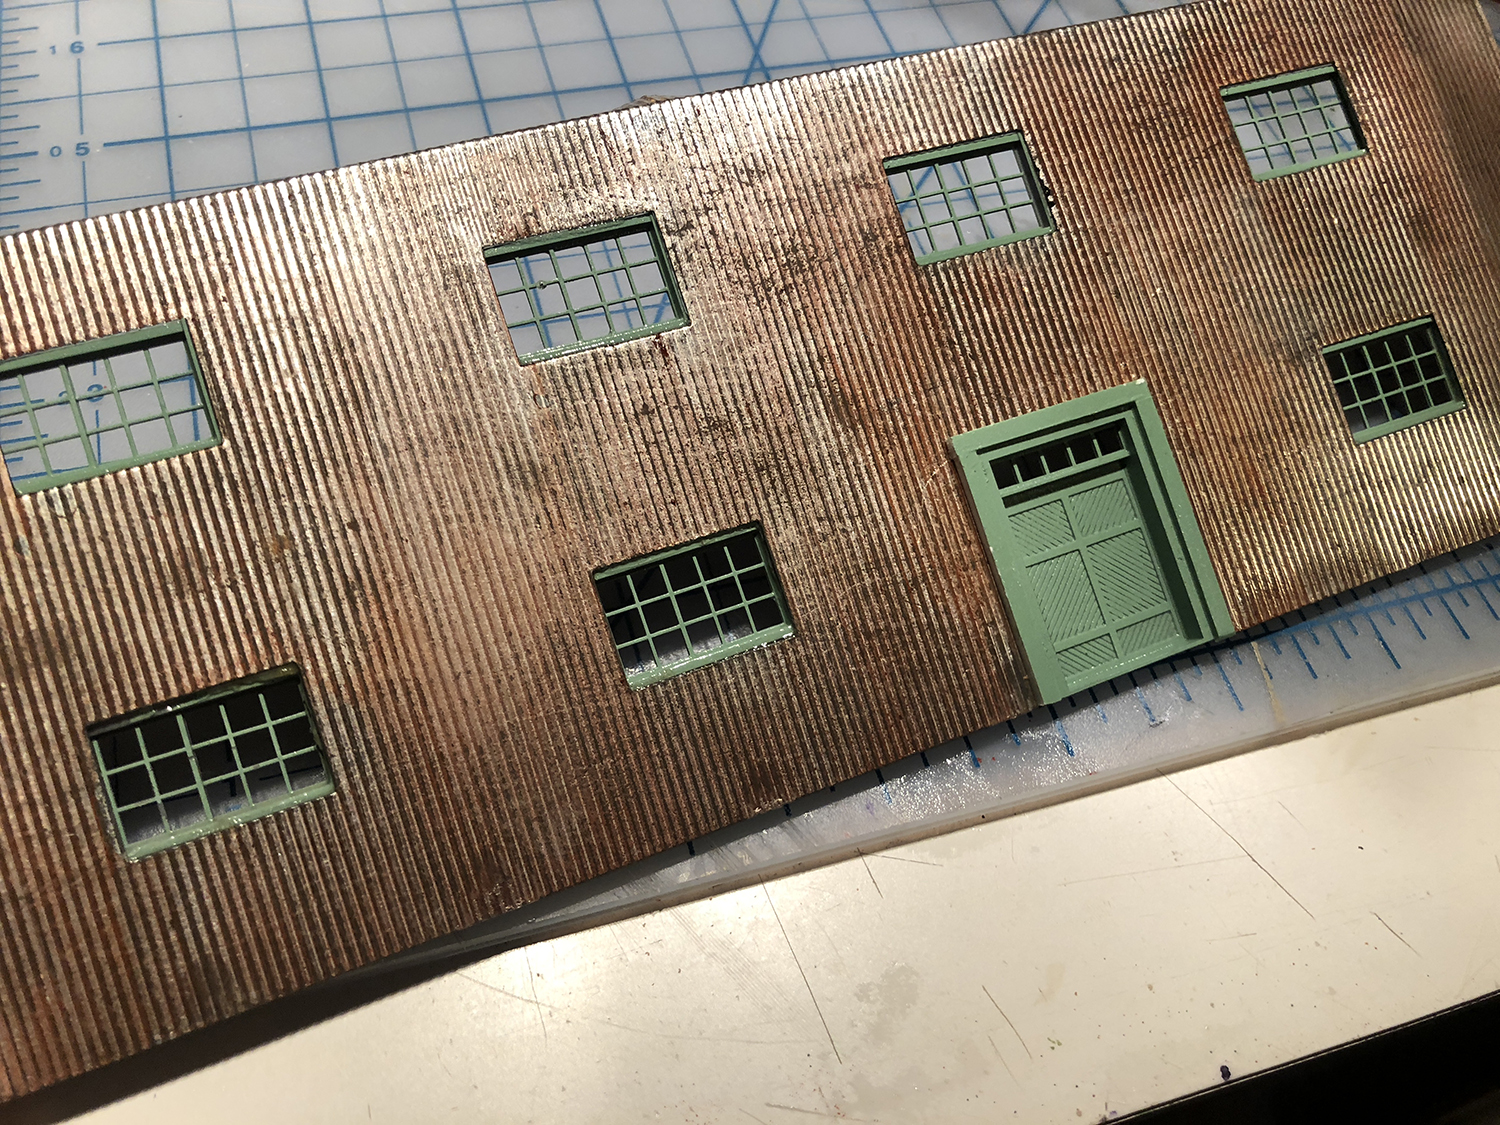
I am working on the background behind the whole layout. This section is behind the sawmill insert from the last post
Will post the sawmill area with the insert back in place when I finish a few more details o the Sawmill

Working on various areas, after a time away.
Sawmill almost completed, but still some details, as piping, a railroad logging car log dump, and more vegetation, and finally some hills and trees on the background.
This more completed and other projects posted soon
My Control panels will use Berretthill.com touch toggles for all the switch controls, uncouplers, and even room lights.
I started by taking a number of phone shots looking straight down on the area for the panel
Next I realized I would need to change the actual proportions of the area to fit a useful sized panel for the controls, done in Photoshop.
I then traced the compressed photo composite, and smoothed things out
Then I photographed the tracing and put it in Photoshop to do vector final track layout the width needed for the controls etc.
This completed diagram will be printed out to size for the panel, and the touch toggles (seen below) will be attached to the back of the paper and will show through indicating direction
Here is how they would work showing through the completed paper for the panel.
Below is completed panel, ready to be printed out to size.
In a future post, after I get all the touch controls in place, I will put up a fully glowing panel.
Continuing to work on my multi level passenger station first posted in December
Looking along the future parking area toward the base for the station being glued in place. and yes, the hold down weights are defunct internal hard drives.
Start of sidewalks etc around the station building
Getting a feeling for half of the station building in place. The other part will be to the left and scratch built, essentially as if the station were enlarged at a later date than this part.
Much detail, weathering, windows, painting, people etc to be added, in future posts.
This time partially completed Lumber Mill, kit bashing an old Suydam kit with changed windows, doors, reconstructed missing parts and eventually scratch built additions.

First side, adding new windows and doors from Tichy Train Group, with weathered and rusting corrugated siding
Assembling the structure on a steel machinists plate. Handy to hold things in position with magnets, since the walls are steel.
Next brick portion
Adding Weathering to Doors etc.
Then starting to plan positioning on the layout on the Lumber branch.
Whole area plan showing places for Log chute, pond area, log dump, stream and separate scratch built finishing building and loading dock
In the process of designing and constructing a larger city building, gluing up small sections and pilasters to form the building, and then adding the window frames.
Adding piece by piece and modifying some sections
Starting to see structure come together with side walls

Building without first floor commercial facades, using machine tool hold down blocks for weight and right angles.
Next, airbrushing the structure and the windows their finish color.
Then adding the first floor structure and trying fit in a location before putting all the finished roof, window detail, adding some interiors, and lighting.
Will put more on completing this and other buildings in future posts.
Starting to work on multiple structures for the layout using kit bashing and scratch building. I’ll be putting up various progress on building in the coming weeks. The first area is the passenger station area in the city.
This second view in same area with some added wall ideas
The longer shed part of the station is at a lower level and further along.
Will put up progress on this and other areas as I move along.
I have been concentrating on working on the branch line this week, so here are some photos of progress at the future site of the sawmill.
Next a series of Photographs showing creating the terrain around where the mill will be.
Next will be determining the contours of the mill area (buildings, pond etc.
Working to finish up track work and bridges etc, on both main line passing sidings and on the lumber branch, and at the same time dealing with roughing in base scenery in those areas.
In this time of social distancing, even though it seems perfect for model train work, I have been
more engaged in obtaining food, and other house projects, along with a certain amount of angst, as are I’m sure most of us. But, I have been reading Model Railroader and an article in the march 2020 issue, about taking scenery into the aisle, made me say-hey- I put up a post on a very similar idea almost a year and a half ago. So I thought I would share it again.
___________________________________________________________________________________________________
I have a concept of the walk-in aisle of my layout being a river or small bay, so I am making my scenery (rocky banks etc.) all come down to a common level as it would be meeting a bay.
My thought is to build a rolling cart with an area of bay level water that can be raised into position anywhere along the walk in aisle, for photography of the layout, with extended water.
I AM now ready to take advantage of the confined time to start Posting and Working on the Germantown & Northwestern!