
Having made 4 pop-up areas in my layout for access to track etc, I made foam plugs to sit on strips in the access holes to support the scenery, or town, or hill. The foam is light and sturdy.
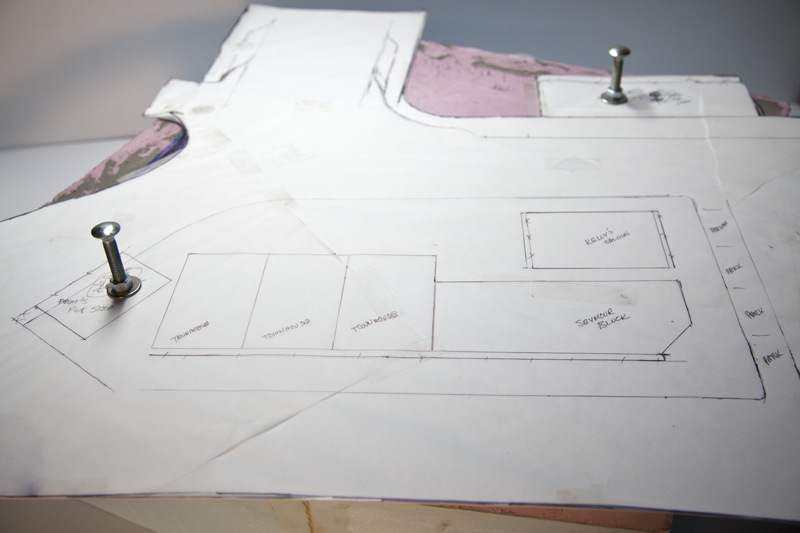
Layout of town on section
Here is the first section that will hold part of the town on my layout, in this case using a large sheet of styrene for the roads that lap over the joints of the plug to conceal it once settled into
the pop-up area.
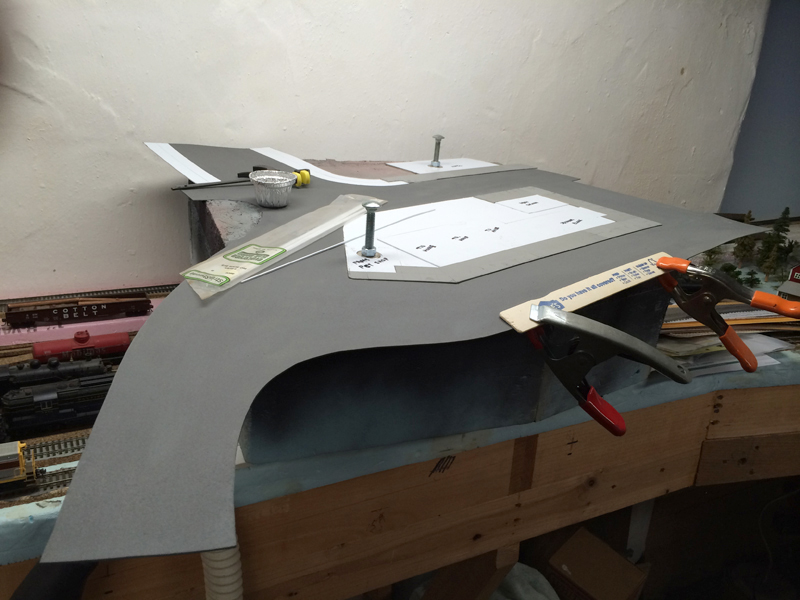
Adding Styrene for roads and sidewalk
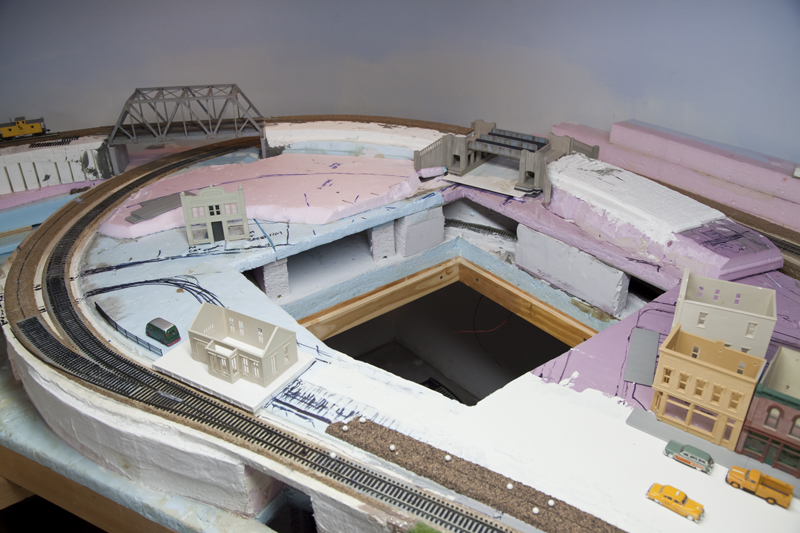
Access area to be filled with section
I also put some large bolts that will be hidden inside removable buildings, that make it very easy to lift the section from the area.
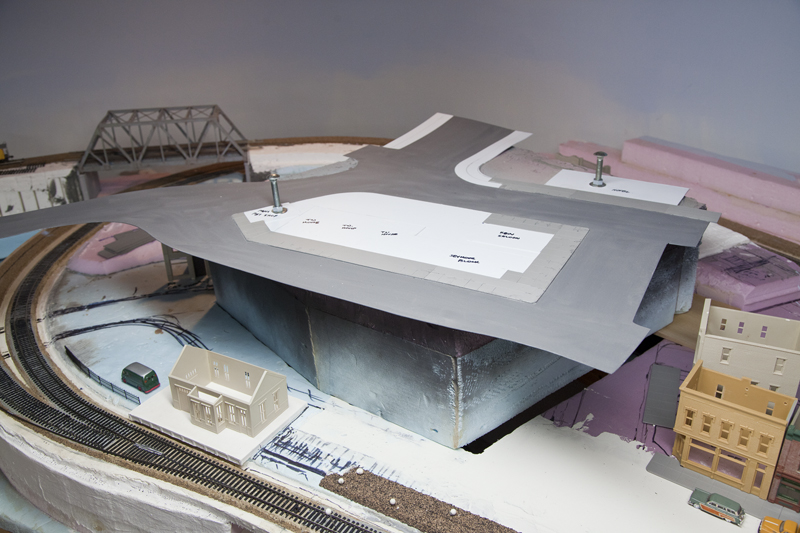
Setting section in place
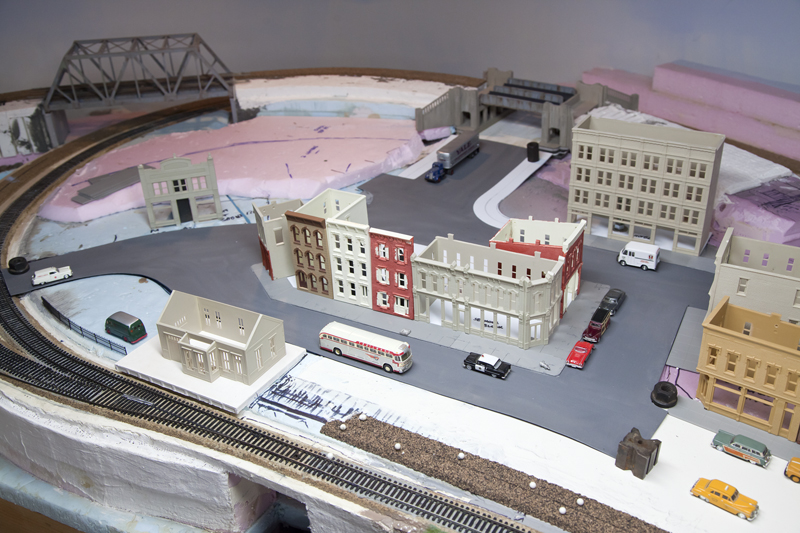
Test fitting the soon to be town


