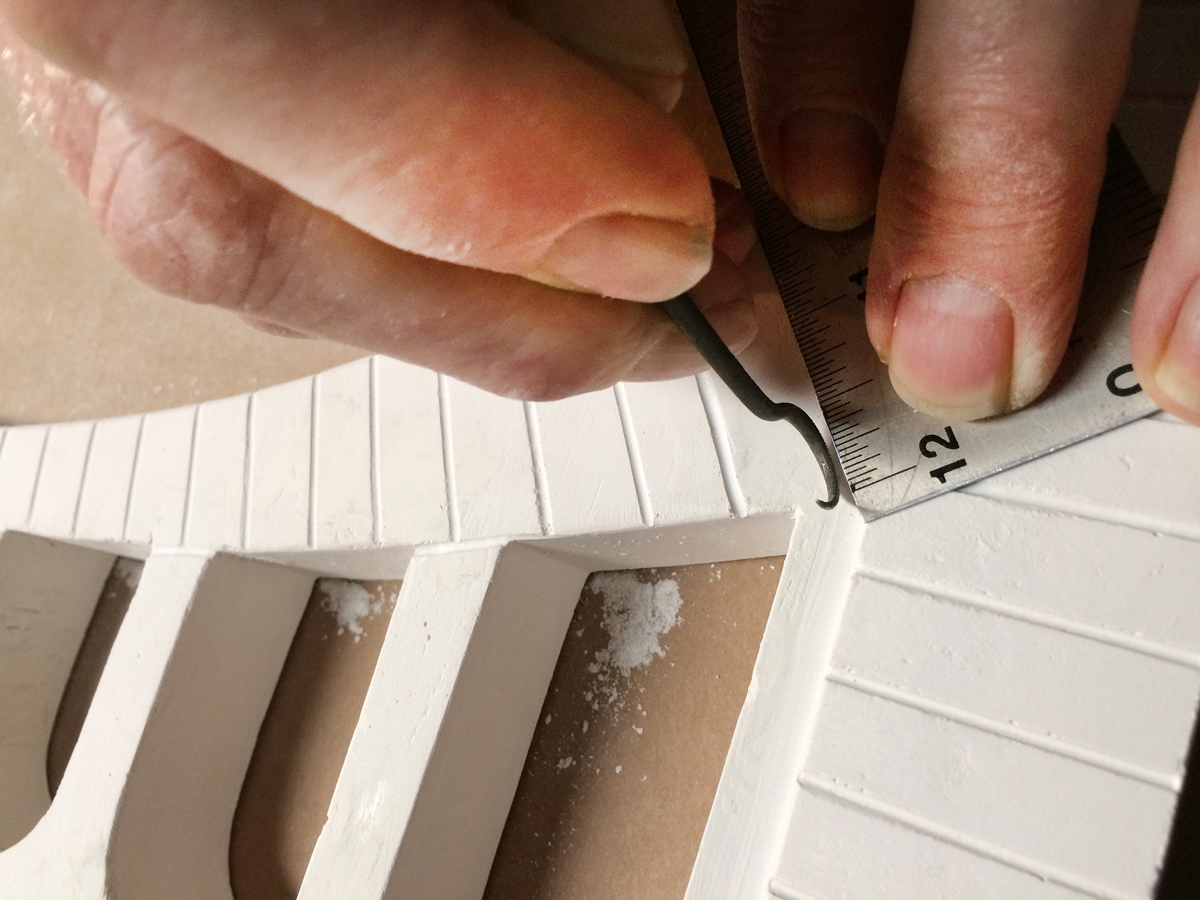
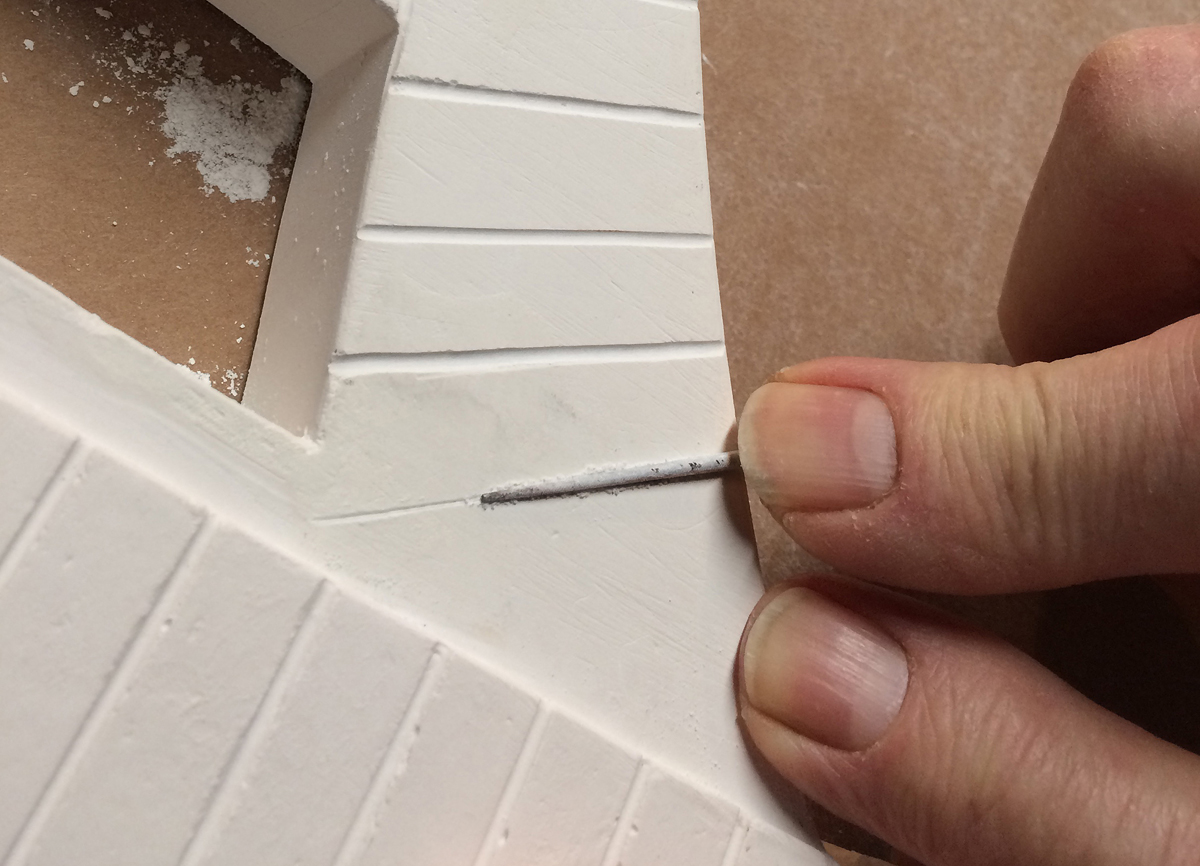
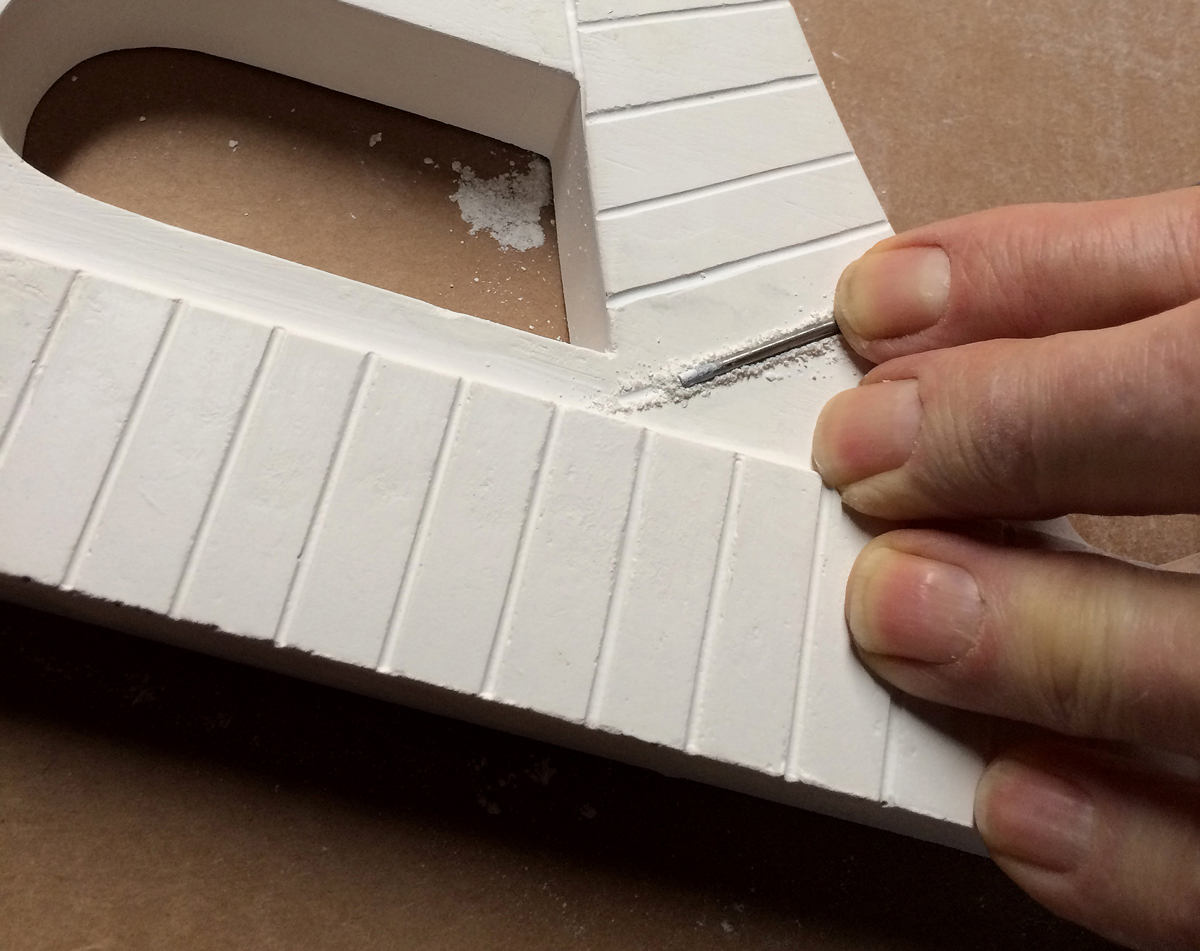
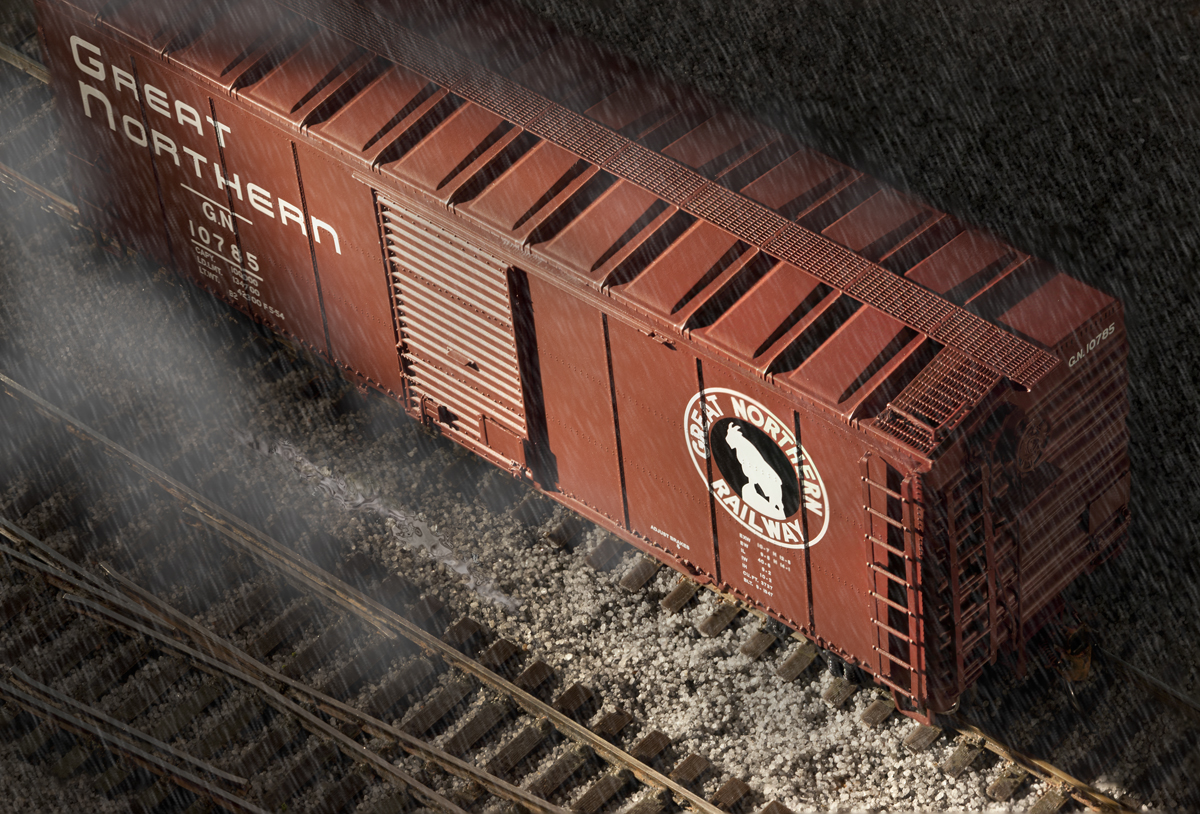
A friend, artist Garth Herrick, was tasked to create something for a New York restaurant display made only out of food offered at the restaurant. So here it is, the great Monterrey Jack Cheese Steam Engine, pretty cool.

Monterrey Jack Engine
Front view

Not easy to work with sculpture medium
Thanks Garth for permission to use these images