Started to wire each section of track soldered to the rails and then connected to the DCC size14 buss wire with suitcase connectors. (insulation displacement connectors)
Should make for good steady power

About to attend the GSMTS at the MD state fairgrounds this weekend. Always a good show, especially in October and February. Especially looking at Touch toggles for switch machines.
Back after a summer of visiting various railroad venues, and getting down to finishing trackwork. I am modifying Shinohara code 70 # 8 switches, to work on DCC.
I am using Micro engineering Code 70 flextrack and # 6 switches, but need some # 8s and also some # 4s on the logging branch, which ME does not offer. On the Shinoharas, I am changing to gapped PC board throw rods and connecting the running rails and closure rails with wire jumpers soldered to the bottom of the rails.
Also cutting gaps in the rail on either side of the frog, filling the gaps with CA glued plastic, formed to fit, and soldering a wire to the frog rails underneath to connect to a Tortoise switch machine contacts as the switch is thrown to guard against shorting.
Visiting friends in Colorado, I was able to further my ongoing summer visits to full scale and model railroad sites. First was the Colorado Model Railroad Museum in Greeley CO, and then the Buenavista model railroad society in Buena Vista CO, both of which I will put up further posts in the near future, but the real unexpected treat was a tour of the
Intermountain Railway Co. the model railroad manufacturer in Longmont CO. Kirk was very gracious in showing the whole operation, from their milling the molds for injection molded parts on their CNC milling machines
To explaining their process and inventory.
To talking about their quality control, including a final visual inspection of each and every HO engine and actually running each engine through various track situations. A very impressive commitment to quality, and not releasing anything that is not absolutely right.
All in all an enjoyable morning and an appreciation of a quality company
After receiving my package from Tonys Train exchange, with my DCC system and sound decoder etc, I started the installation in the Vanderbilt tender which has limited room in width to install a round speaker. So here are some shots following Erik from Tonys Train Exchange advice , using 2 new mini speakers.

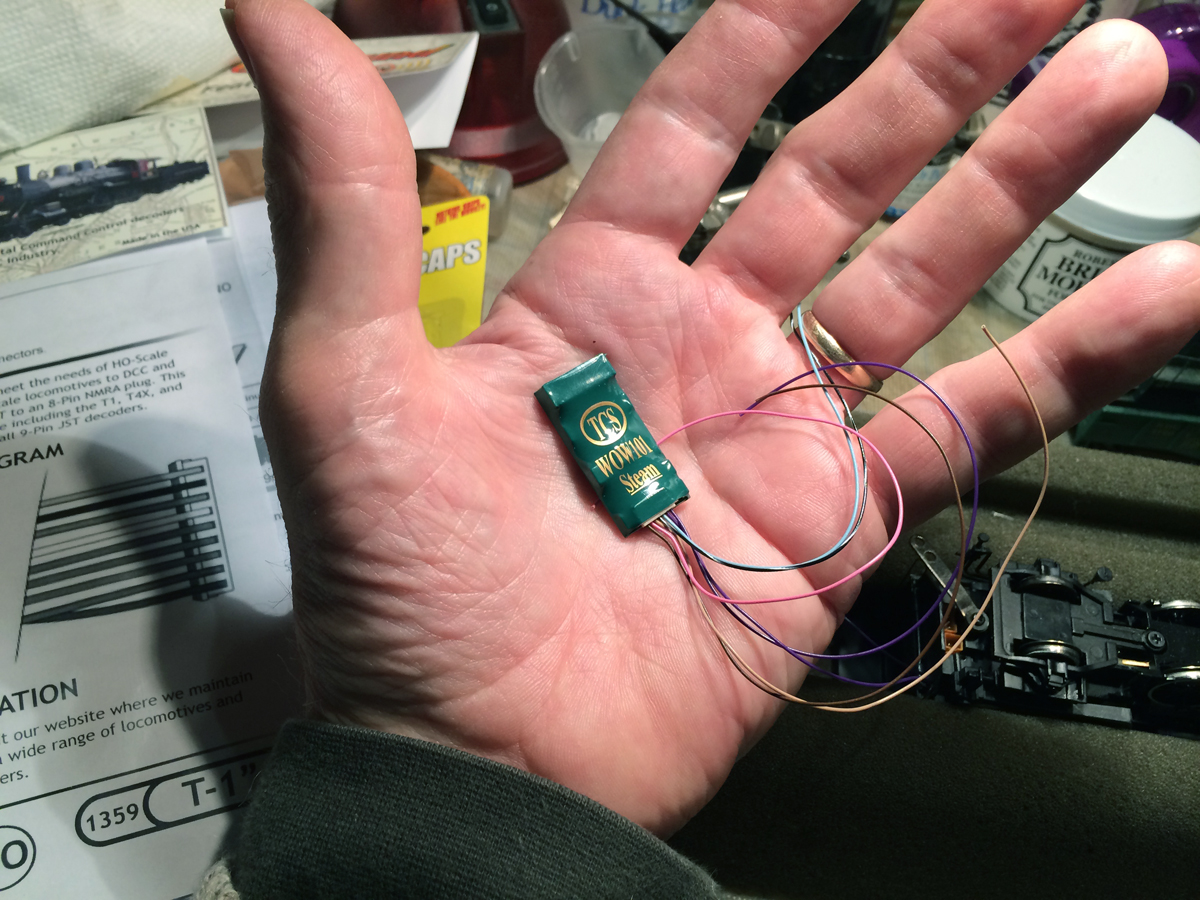
Amazingly small TCS Wow sound decoder to install in tender
This decoder has many choices of bells, whistles, engine types, all manner of mechanical injectors, pumps, generators, brake squeal, air release as well as light control and great control of the running engine including very slow speed right out of the box.
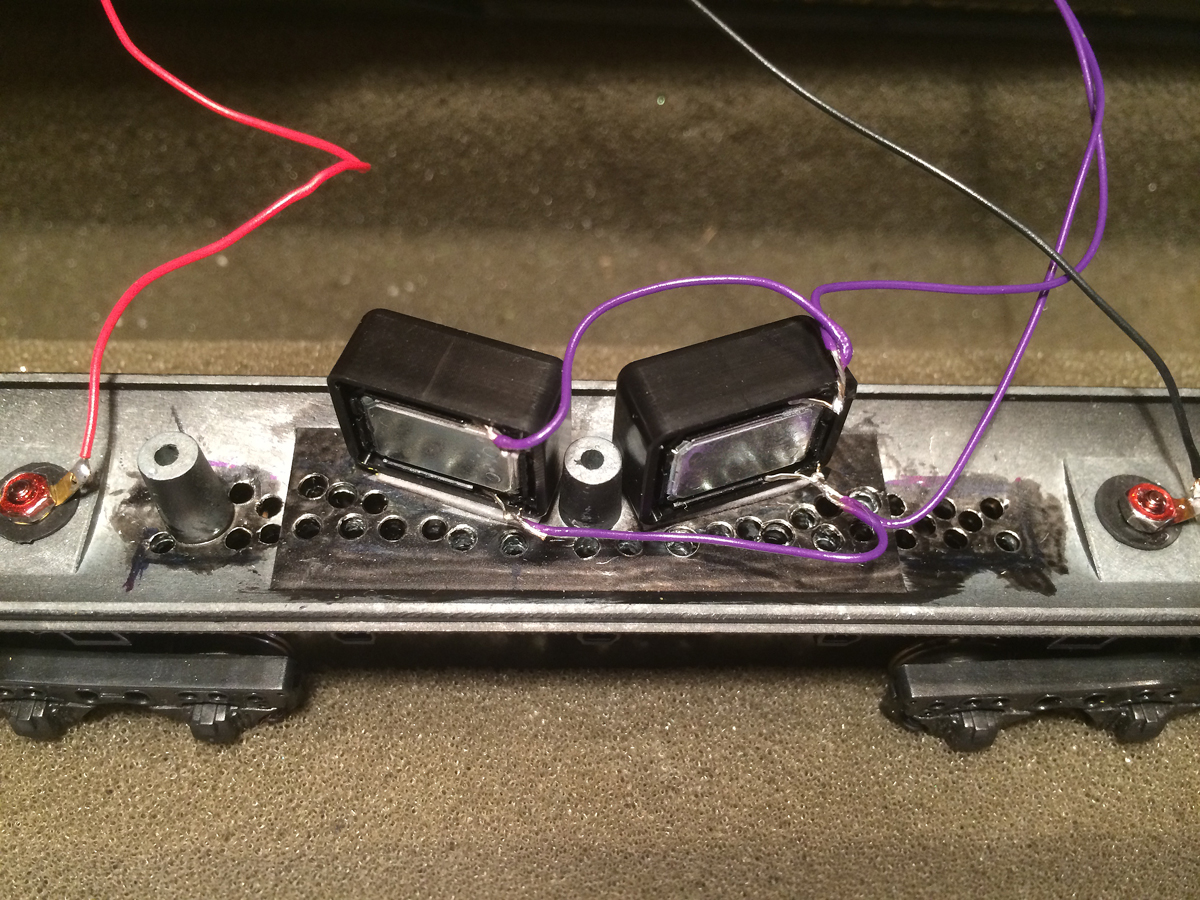
Holes need to be drilled through the tender bottom to allow the sound exit.
Checking the fit of the mini speaker enclosures.
Showing the decoder installed in top of tender with strong double stick (Scotch exterior mounting tape)

2 Supersonic Mini speakers installed in Bachmann C&O Vandy tender bottom
The 2 mini speakers and their enclosures mounted and wired in the tender bottom.

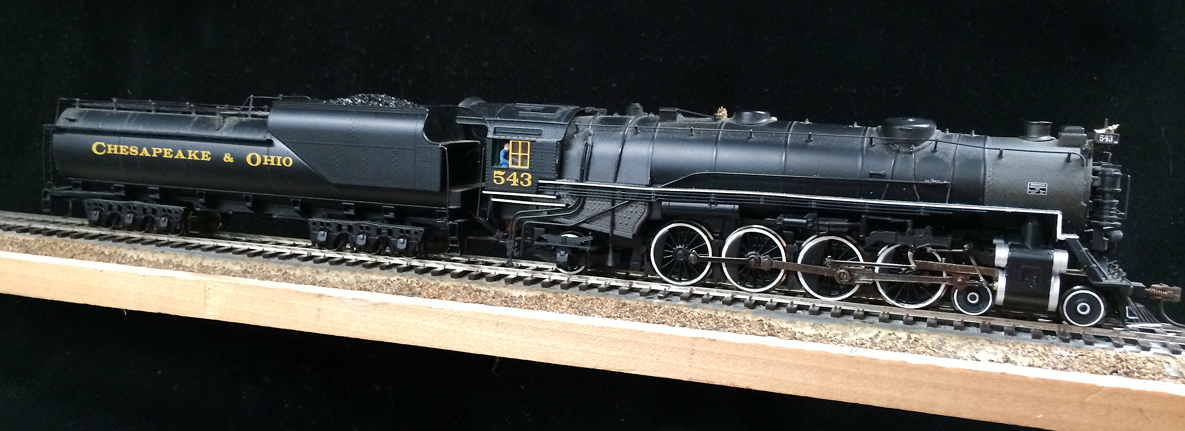
Bachmann Heavy Mountain engine with Sound decoder installed, and the sound and control are really terrific.
Engine after install and really pleased with the result, the sound and control.
Excited to get started hooking up and installing DCC and sound decoder etc after receiving my package from Tony’s Train Exchange, with great help and guidance from Erik at Tony’s, and thank you KEVAN and ERIN.