Author Archives: Bob Emmott

Removable mountain


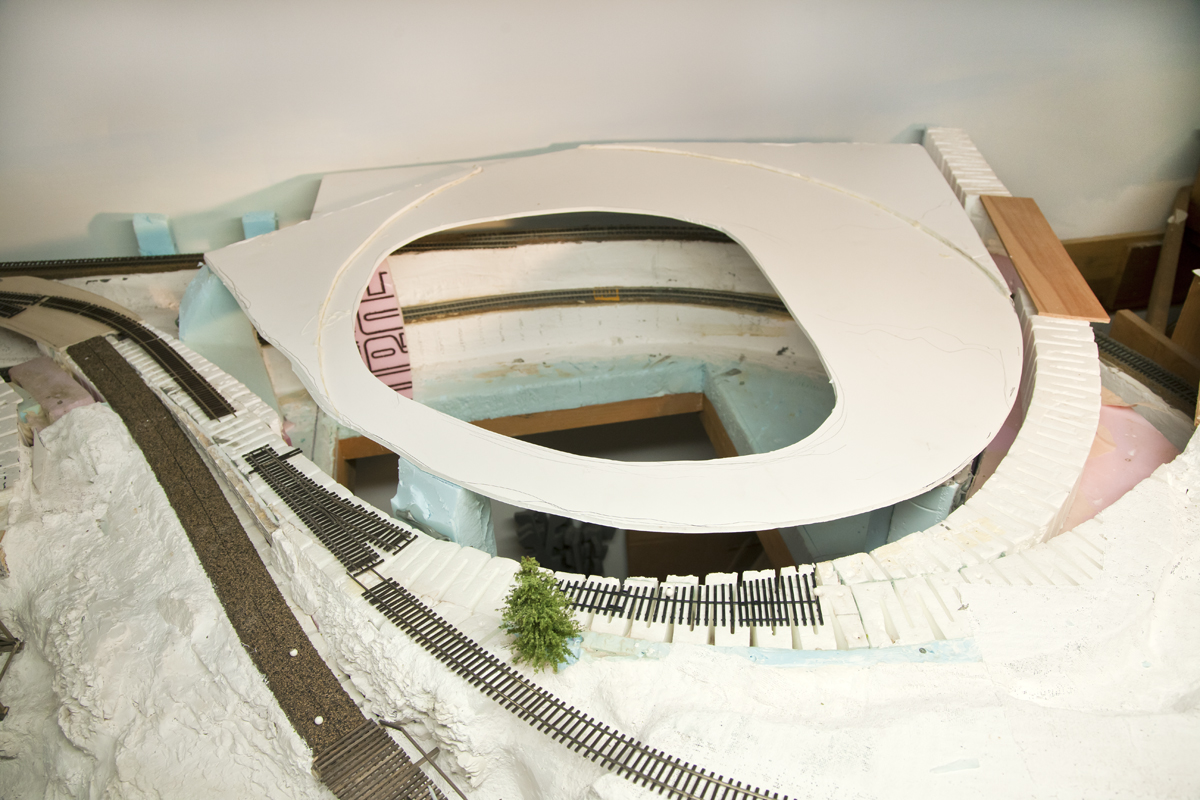
Starting to get whole logging area working, and I needed a mountainous area for logging but it should be removable because it would be over several fairly long track tunnel sections. I thought a base of foamcore would work, be light but strong enough with a structural frame above, making it more ridgid.

foamcore, mountain,

Foamcore base of mountain

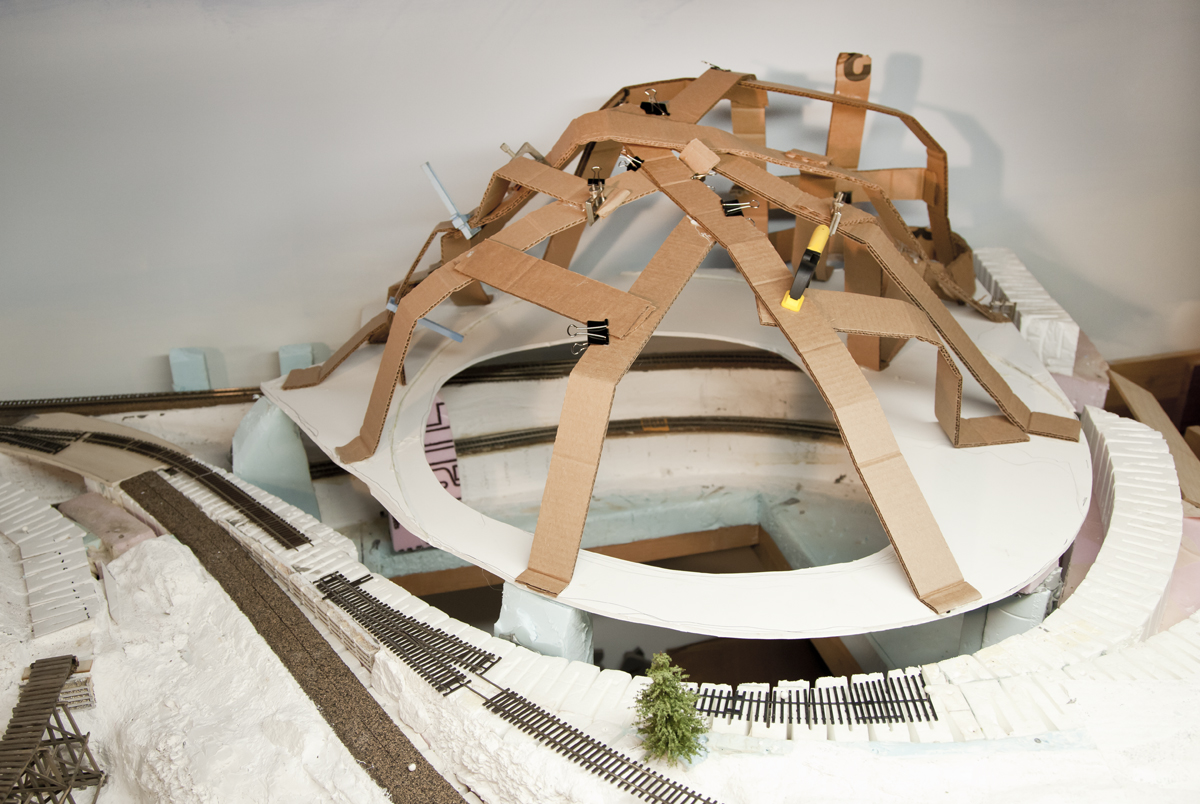
Thinking about how I would do this, I decided to try the new shaper sheet material, but even though Woodland Scenics says it needs no under support, I wanted to visually rough in the mountain and thought a hot glued cardboard strip web would also give it more strength, since it would be movable. Actually I do not think it will have to be moved all that much because even with a derailment under the tunnel, you can pop up inside the mountain enough to retrieve a car or engine.

Woodland scenics, mountain, shaper sheets, hot glue

Web of cardboard strips to support shaper sheets for mountain

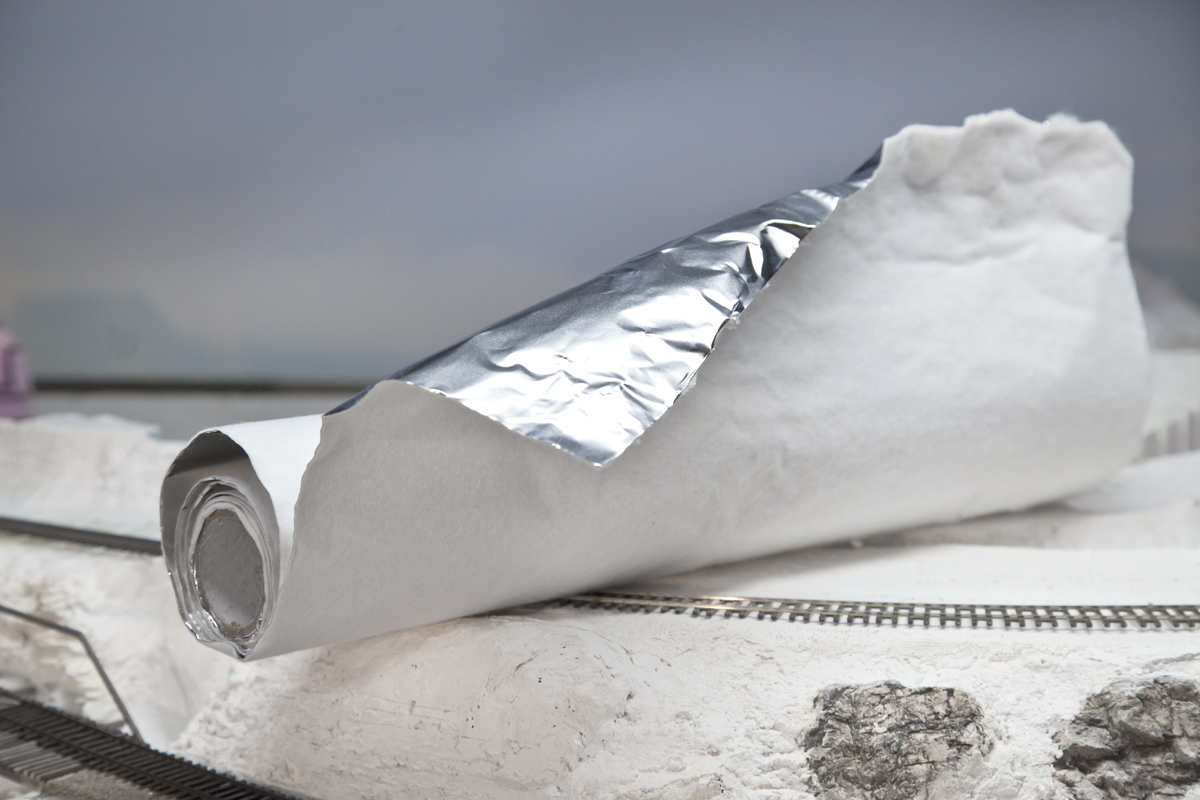
The Shaper Sheet material shown is interesting as it has a very heavy foil backing with a fabric adhered to the foil, that mechanically bonds with applied plaster. Woodland Scenics has a Plaster made for it which I believe is lightweight Hydrocal with a retarder to slow the hardening so there is time to work a soupy mix, and get it into all the crevices.

Woodland Scenics, Shaper sheet, tunnel, Access cover, Scenic express

Shaper sheet showing Heavy foil and bonded material on opposite side

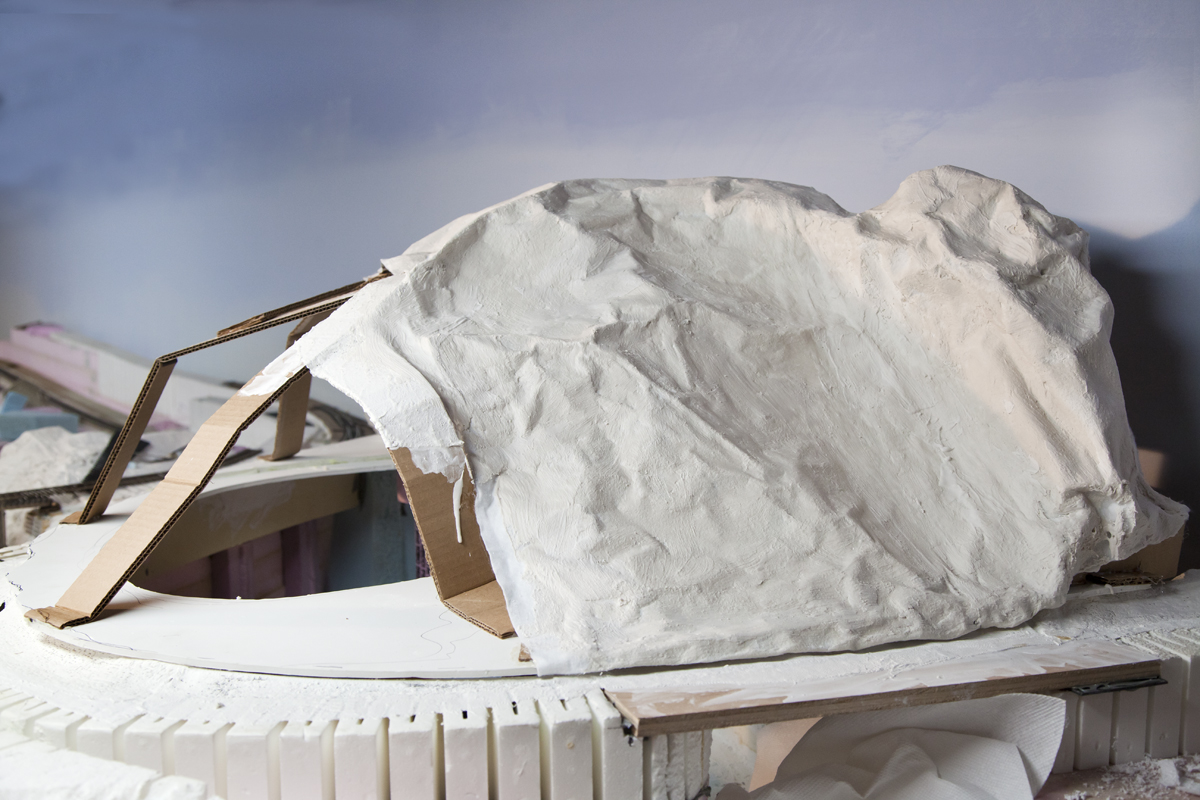
Here is the mountain partially covered with the Shaper Sheet material and matching plaster

Woodland Scenics, Shaper sheet, tunnel, Access cover, Scenic express, plaster, mountain

Mountain partially covered with shaper sheets and shaper sheet plaster

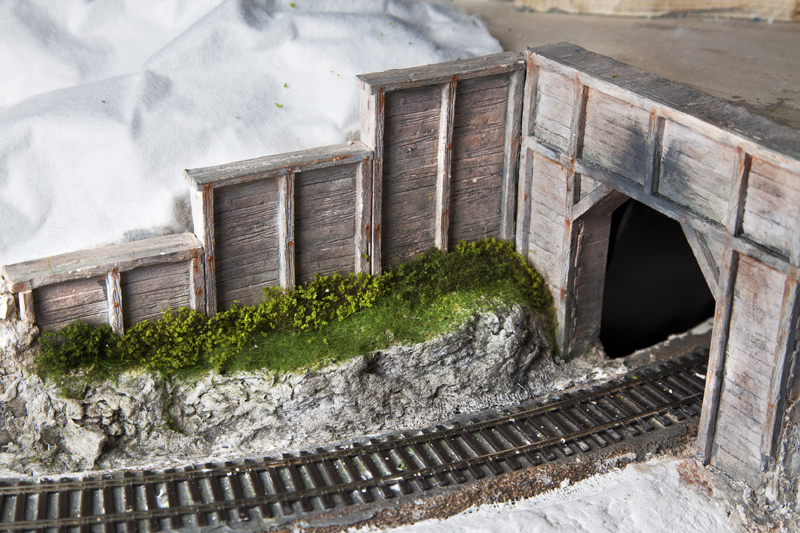
Timber Tunnel and track access panel

Back to the timber tunnel project:

Woodland Scenics Shaper sheet, tunnel, Access cover

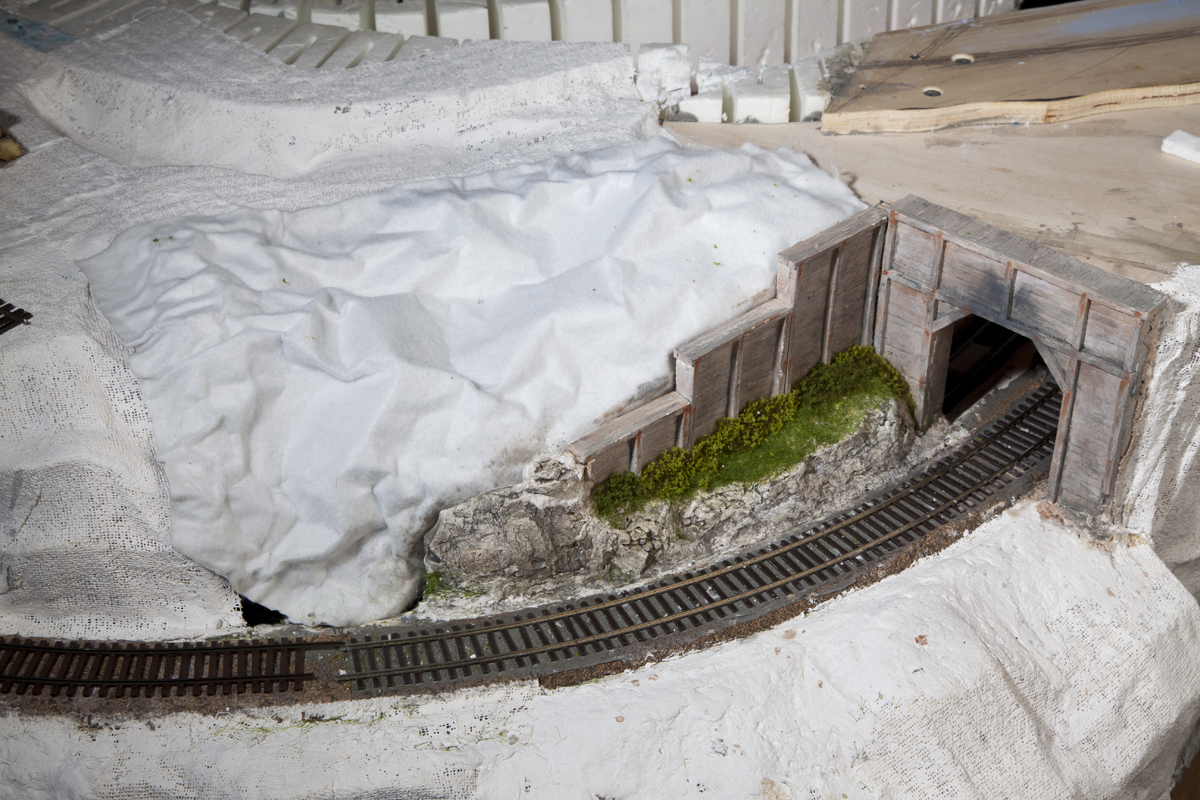
Tunnel with cover

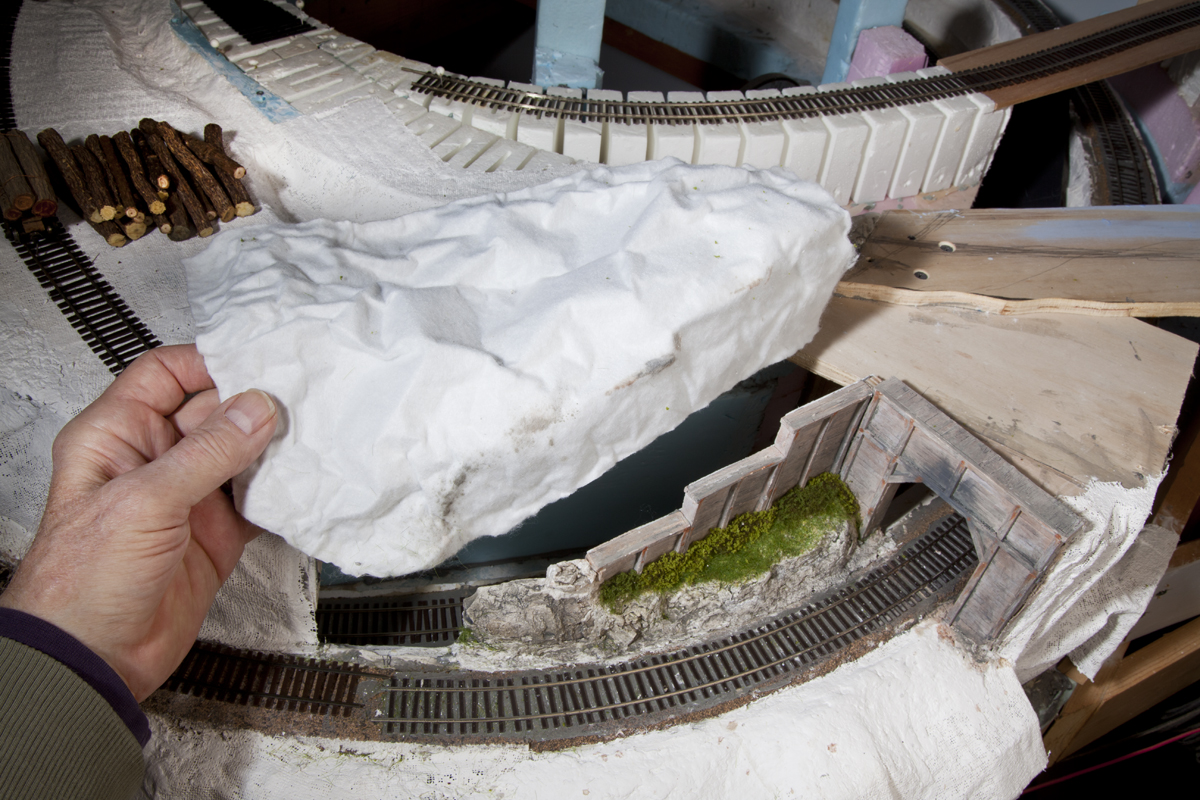
Here is the tunnel and the piece of Woodland Scenics Shaper Sheet material. I thought I would try it to produce an removable access panel. The Material is a bendable heavy foil backing with a fabric (the white to the left of the tunnel) bonded to the foil. This is then coated with thinned plaster. Woodland Scenics sell a special plaster for this that has a longer working time, so you can coat the whole sheet before it starts to set up.

Woodland Scenics Shaper sheet, tunnel, Access cover

Removing Access cover

The plaster has not yet been added in these photos, but you can see that it still holds it’s shape pretty well, and will get much stiffer and stronger once the plaster and other scenic material has been applied.

Woodland Scenics Shaper sheet, tunnel, Access cover

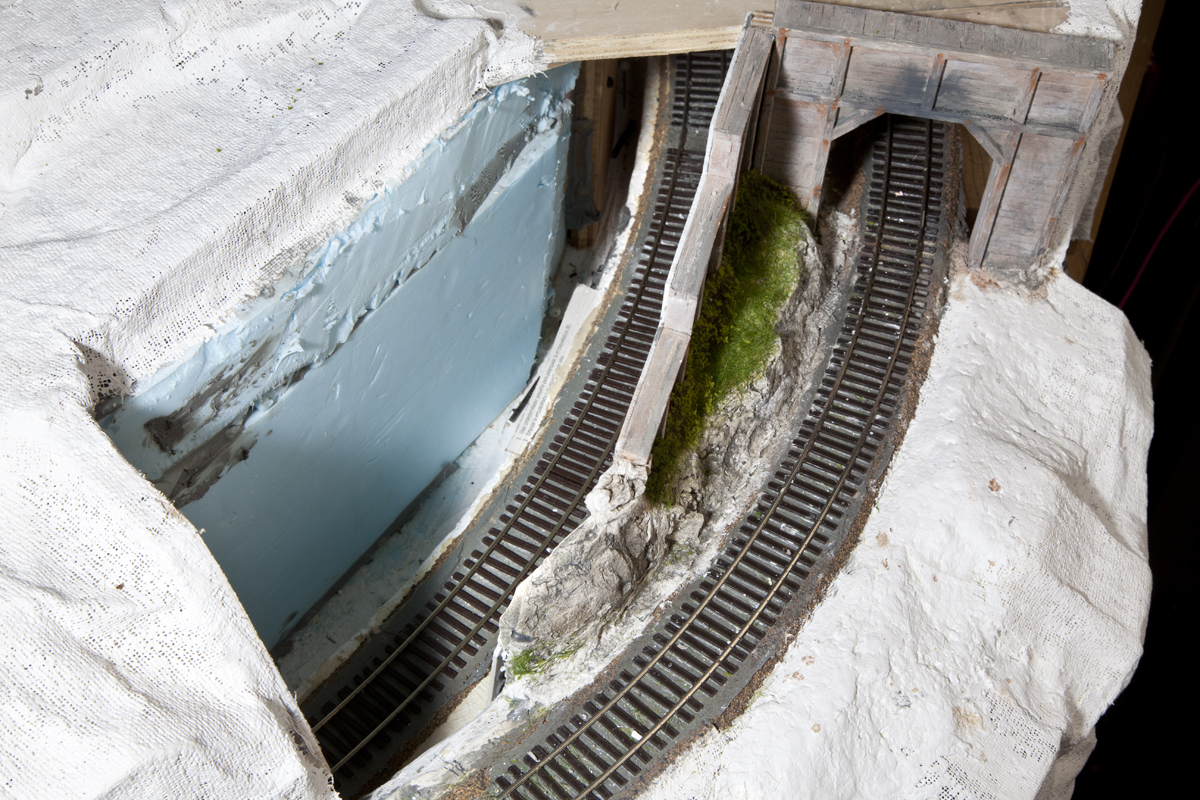
Showing Track that is covered

Here you can see the track that the panel will cover, giving access to an area of a long tunnel in case of derailment. Edges of the panel will have bushes, small rock areas etc to hide the edges of the panel. I will enter a post in the near future when I complete this section with scenery, ballast and cliff faces.

Great Scale Model Train Show


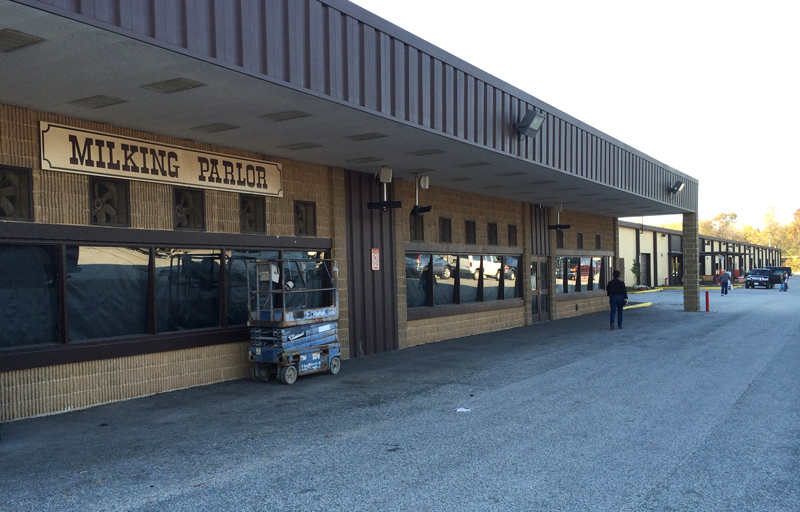
Always a treat to attend the GSMTS, in Timonium Md at the Maryland state fair grounds. Held Sat and Sun, Oct 25th & 26th at the 3-1/2 acre Cow Palace. – http://gsmts.com

Cow Palace @ Timonium

Cow Palace @ Timonium

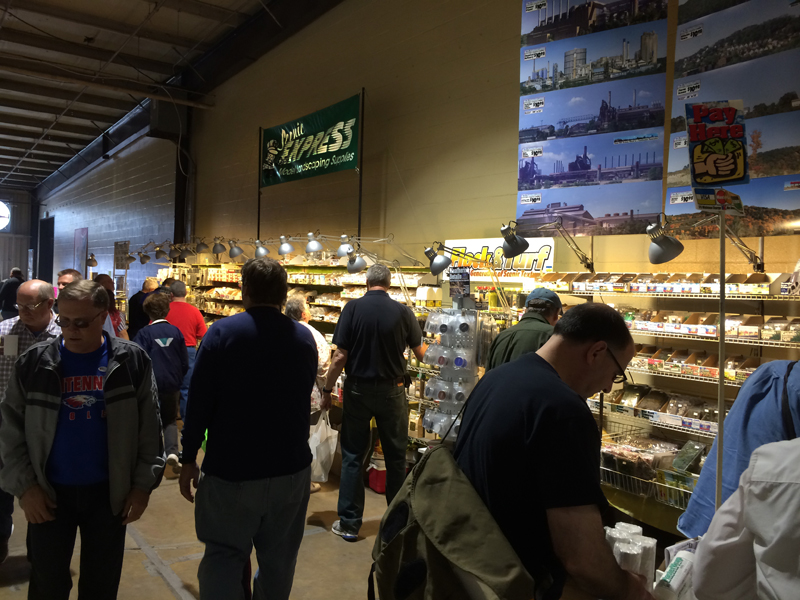
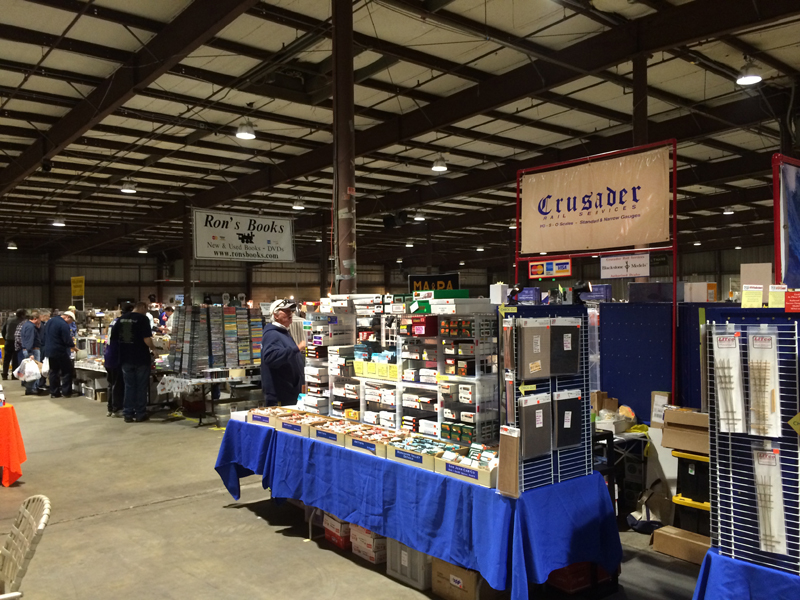
Some of my favorite dealers to visit,

Crusader Rail servicesScenic Express –  Tichy Train Grouphttp://tichytraingroup.com, Motrak

Models

Part of Scenic Express Display

Part of Scenic Express Display

Part of Crusader Rail services Display

Sorry Greenway products  was not there as they always have lots of interesting and unusual detail items, and good buys on things like Classic metal works vehicles

Cast Concrete arch bridge


Picking back up on a much earlier post, I finally started casting my concrete arch hydrocal bridge in two halves.

_MG_8797sm

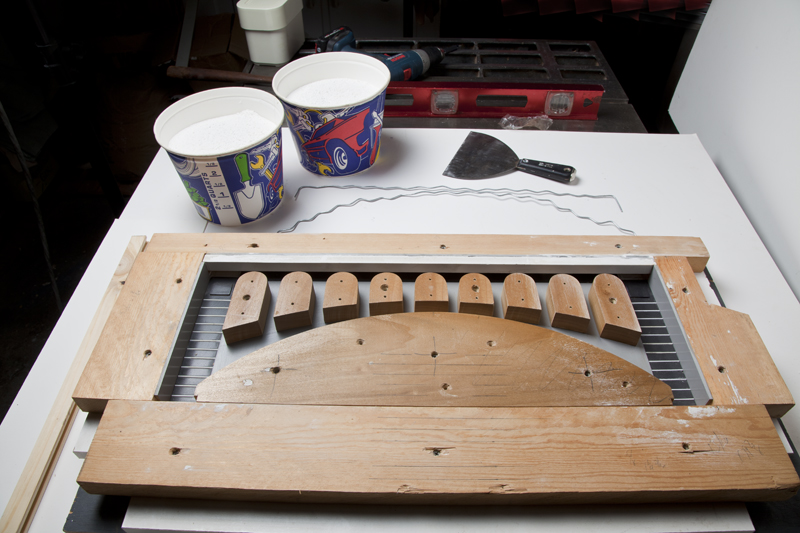
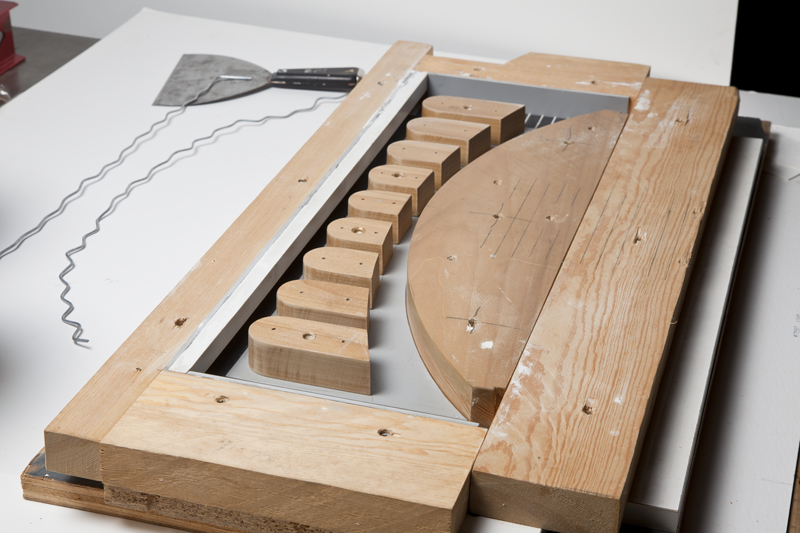
Wood & Sintra Mold

My waxed wood and sintra casting form

_MG_8794sm

Wood & Sintra mold showing thickness

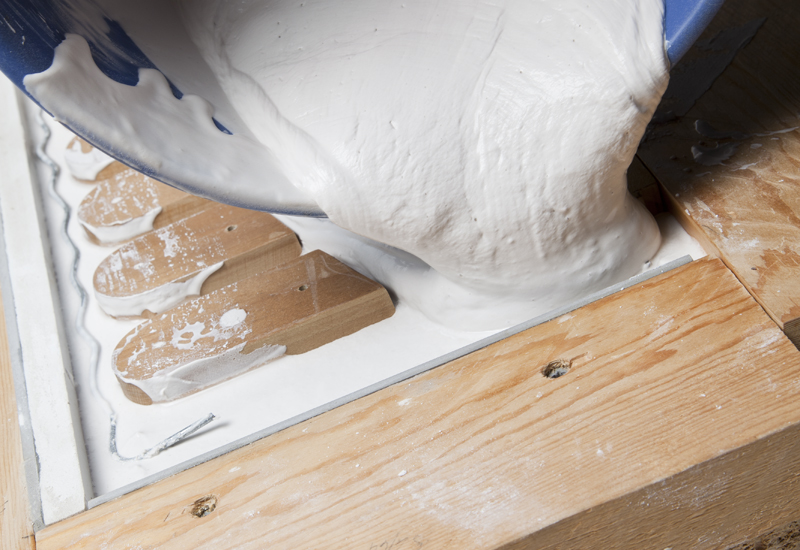
Pouring hydrocal with steel rod reinforcements

_MG_8842sm

Pouring requires working quickly as Hydrocal sets fast

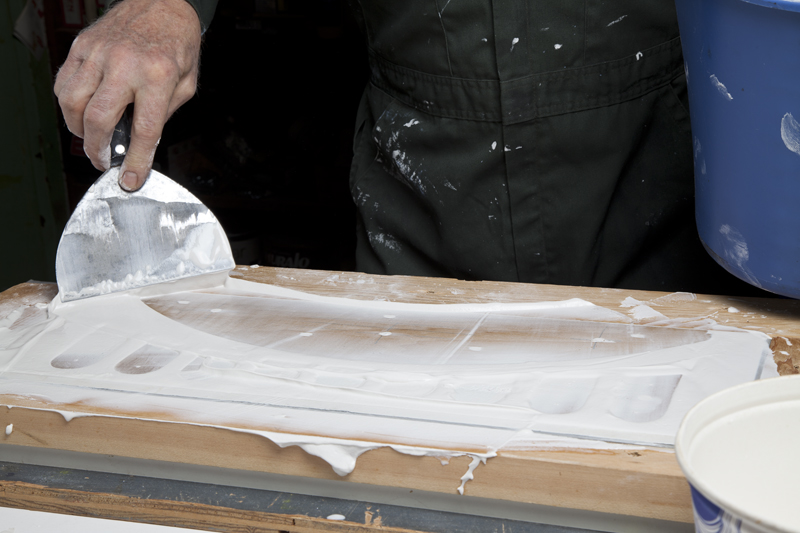
Leveling  to the face of the form

_MG_8852sm

Level as close to flat as possible

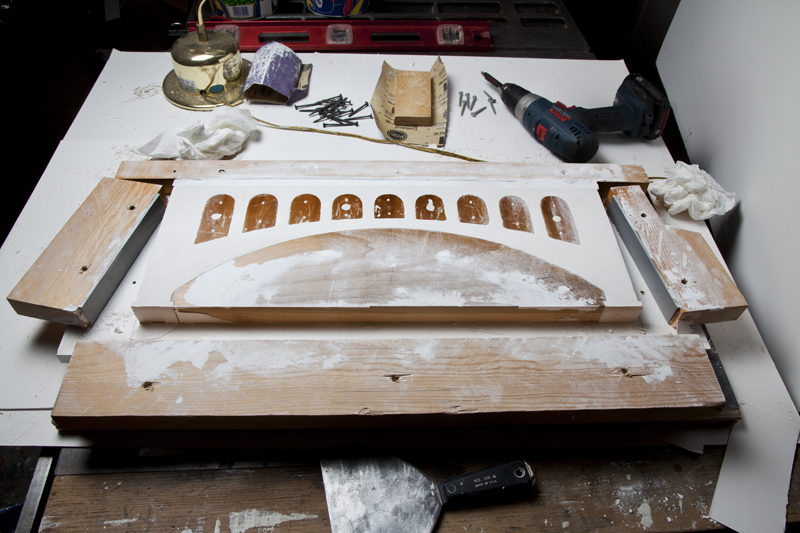
Exterior pieces of the form being removed

_MG_8895sm

Exterior parts remove easily

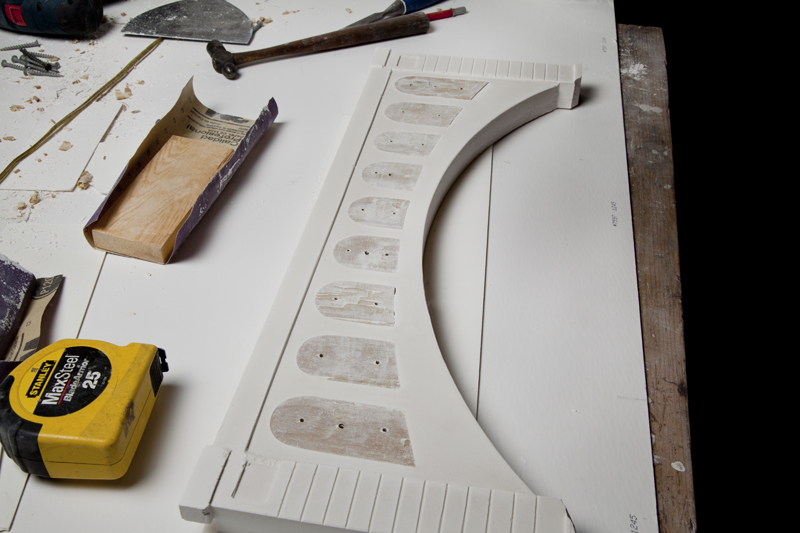
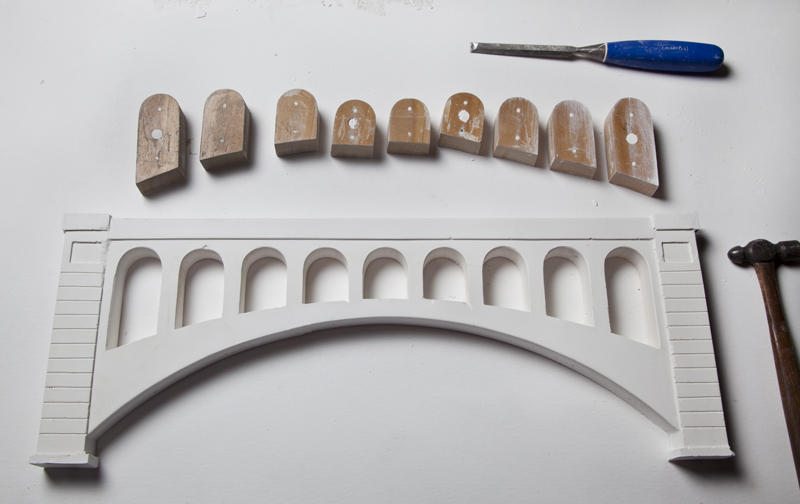
Casting removed from the mold and flipped over, with only the individual small arch pieces to be removed. These pieces have a 3 degree slope for ease of getting them out of the piece.     Still required a few knocks with a small hammer on each to remove!

_MG_8896sm

Casting lightly sanded at this point

First half cast, but I’ll add some detailing with a file, forming casting joints and other details, then cast the other half and place them back to back, with a spacer which is typical for this type of bridge, really two identical arches, connected at the top.

_MG_8903sm

Casting before final detailing


Pop-up access scenery sections


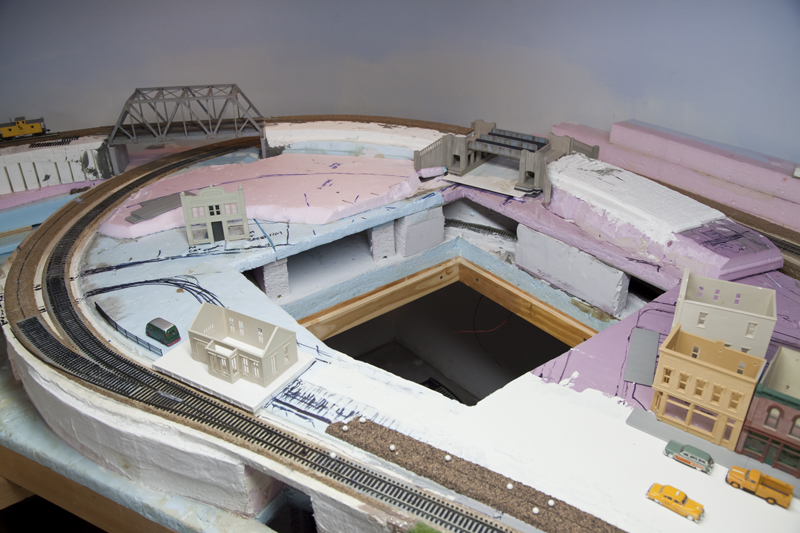
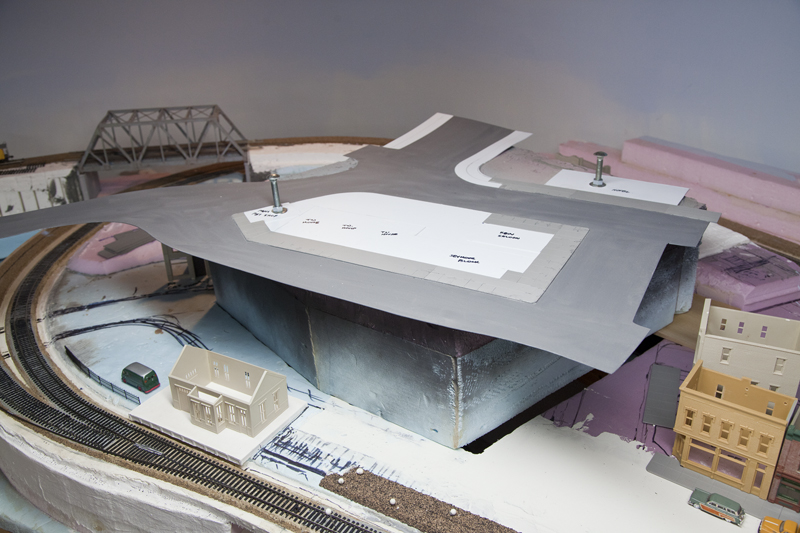
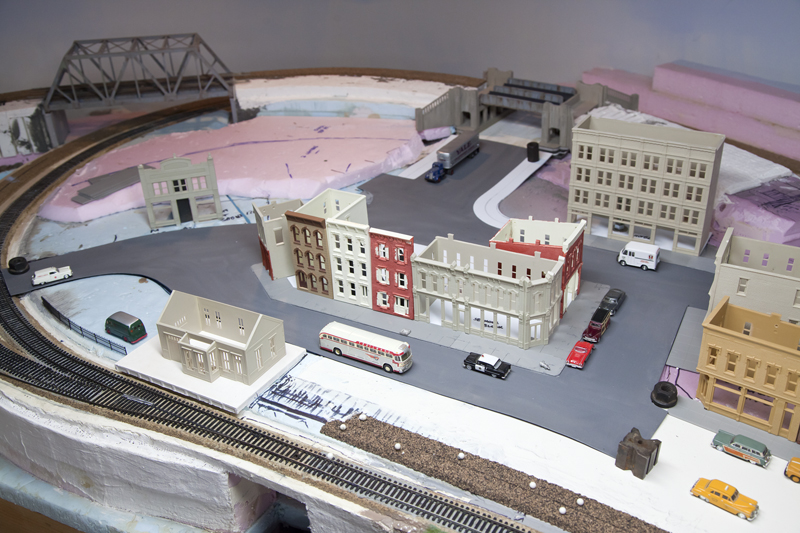
Having made 4 pop-up areas in my layout for access to track etc, I made foam plugs to sit on strips in the access holes to support the scenery, or town, or hill. The foam is light and  sturdy.

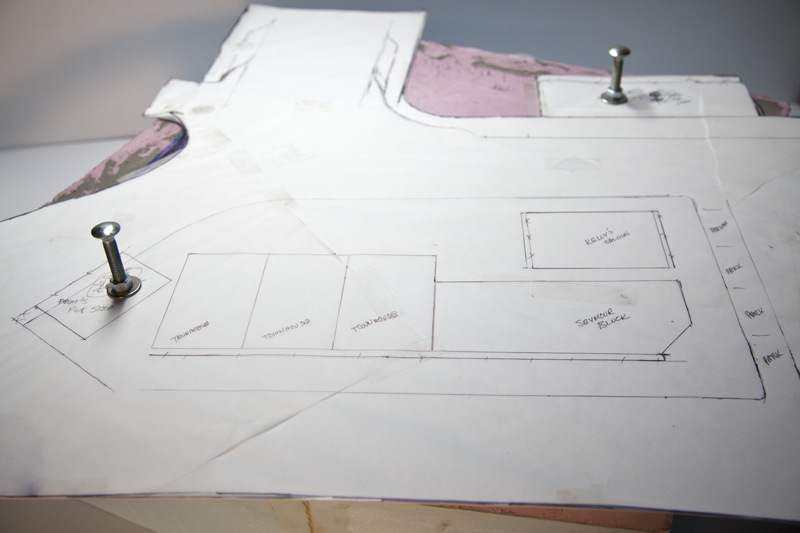
Layout of town on section

Layout of town on section

Here is the first section that will hold part of the town on my layout, in this case using a large sheet of styrene for the roads that lap over the joints of the plug to conceal it once settled into
the pop-up area.

Adding Styrene for roads and sidewalk

Adding Styrene for roads and sidewalk

Access area to be filled with section

Access area to be filled with section

I also put some large bolts that will be hidden inside removable buildings, that make it very easy to lift the section from the area.

Setting section in place

Setting section in place

Test fitting the soon to be town

Test fitting the soon to be town

Energy Drain

It’s been a long time since my last post.
Sorry, but we have been in the process of moving our studio, and all the rigamaroll and sweat that goes into that.
Closing is coming up so I’ll be back at the blog soon.

Making Conifers

Recently purchased a new tool and materials from Micro Mark, to create evergreen trees.
The idea is to run a bead of glue down a soft iron wire, then spread Chinese bristles relatively evenly along the wire, and let set up long enough to have the bristles tacked to the wire but not so long to adhere the wire and bristles to the wax paper they suggest you place under the wire.
Then you put another bead of glue on top of the bristles centered on the wire and add a second wire on the glue and let set for a time.
At this point you are ready to use the tool to do the next step.

I found this worked OK, but was a little awkward, seeing that the wire was just loose, and spreading the bristles on the glued wire tended to move the wire, and make the whole process a bit tentative, messy, and hard to keep the fibers where you wanted them.

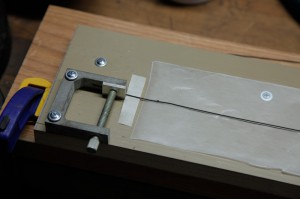
So I decided to build a simple jig shown below to hold the wire in position during the gluing process, which I think really made the system work much better and with more control.

Jig tools & materials

Clamped wire in jig

I’ll continue the process on the next post