About to install a 51 foot length of blue rope leds, which is just about right to do a single trace around the whole layout in from the front of the aisle.
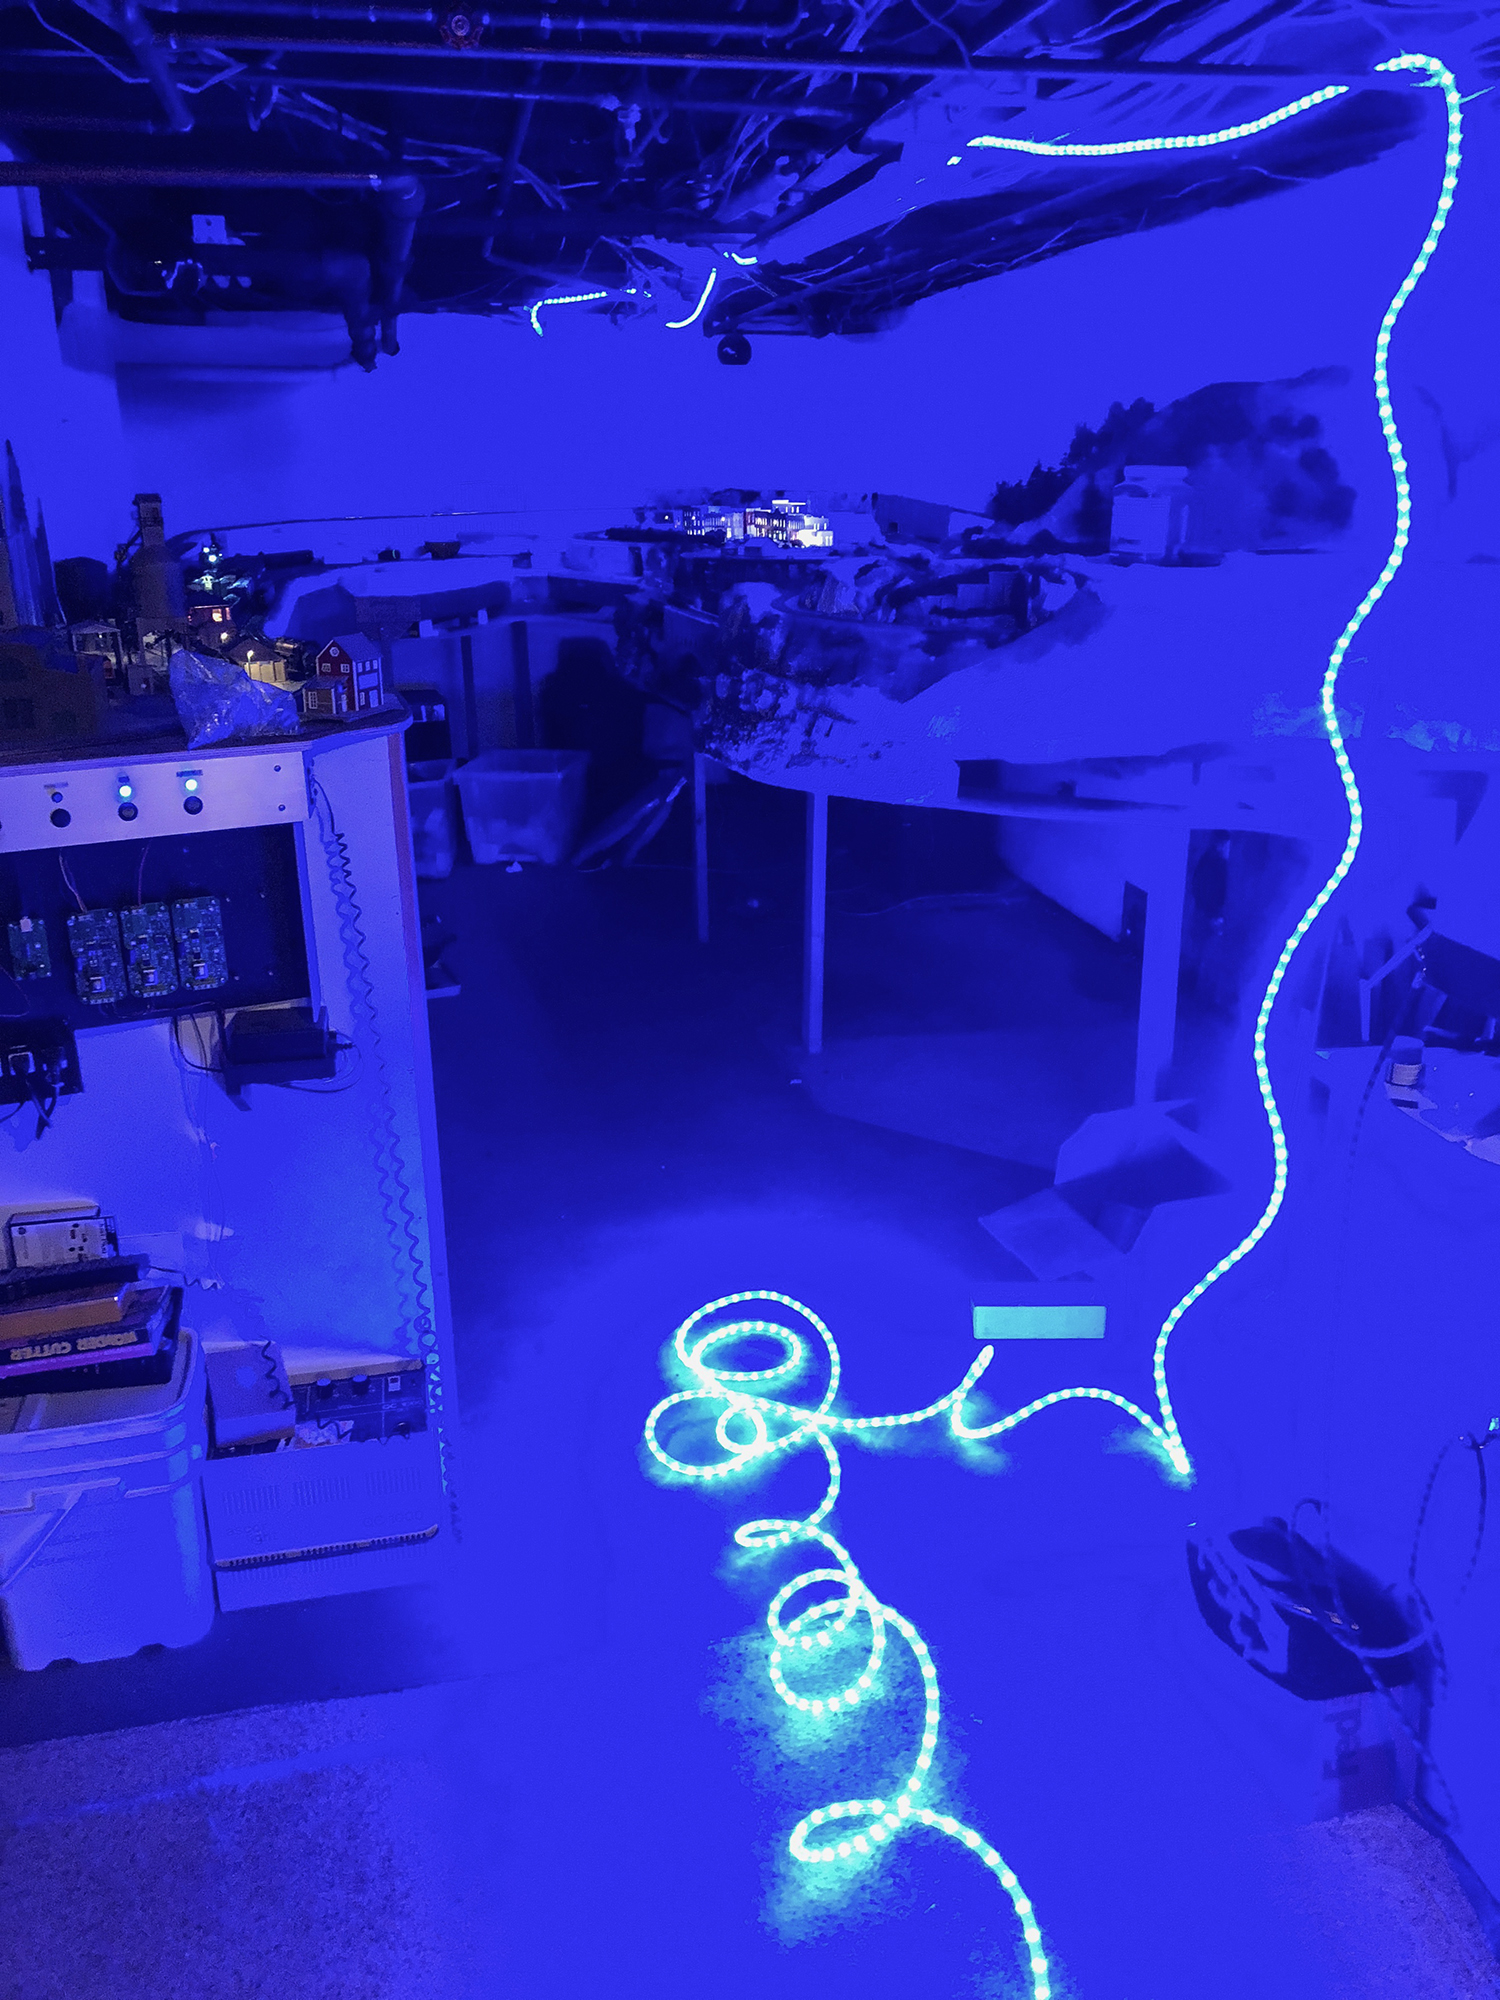
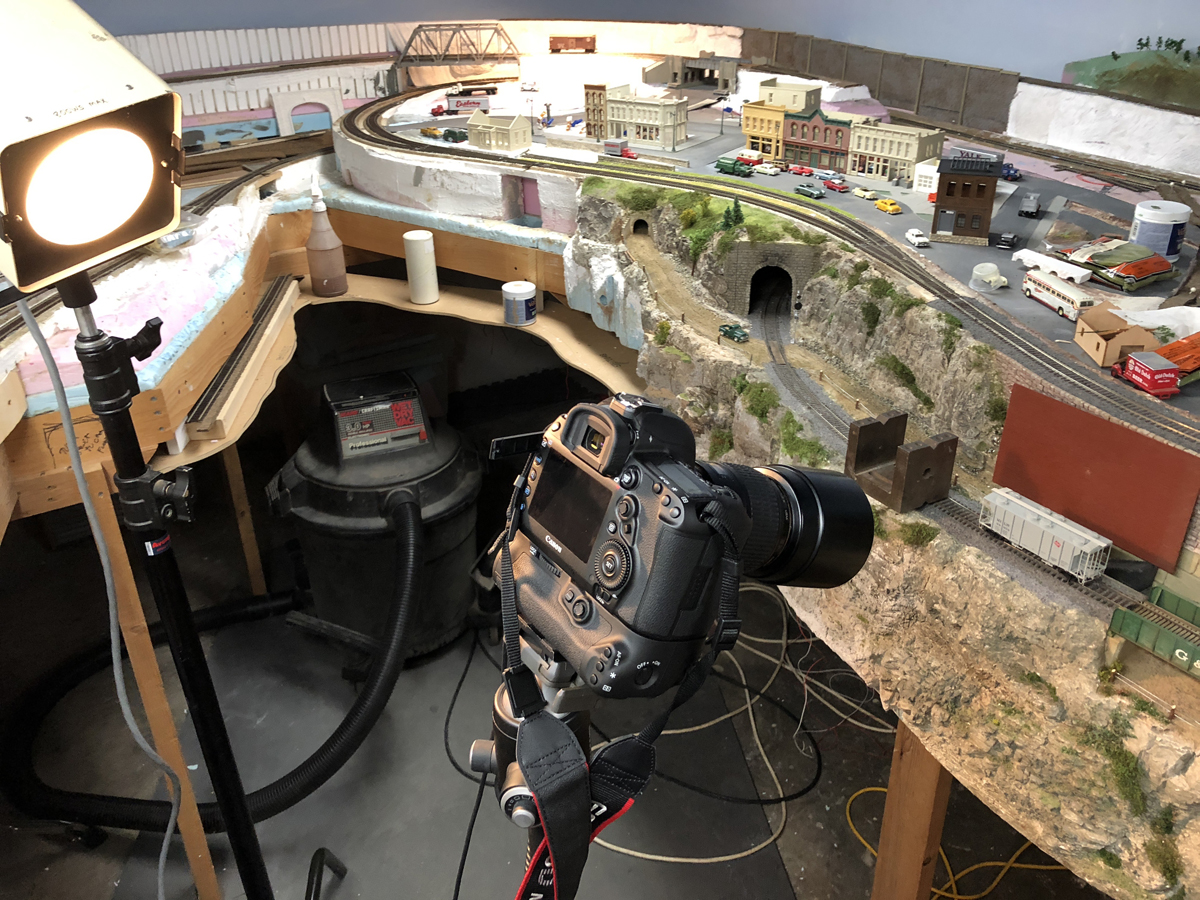
Starting to see how I will install lights
Will use the blue lights and perhaps a string of Warm white dimmable rope lights, so I can adjust the balance between the blue and white.

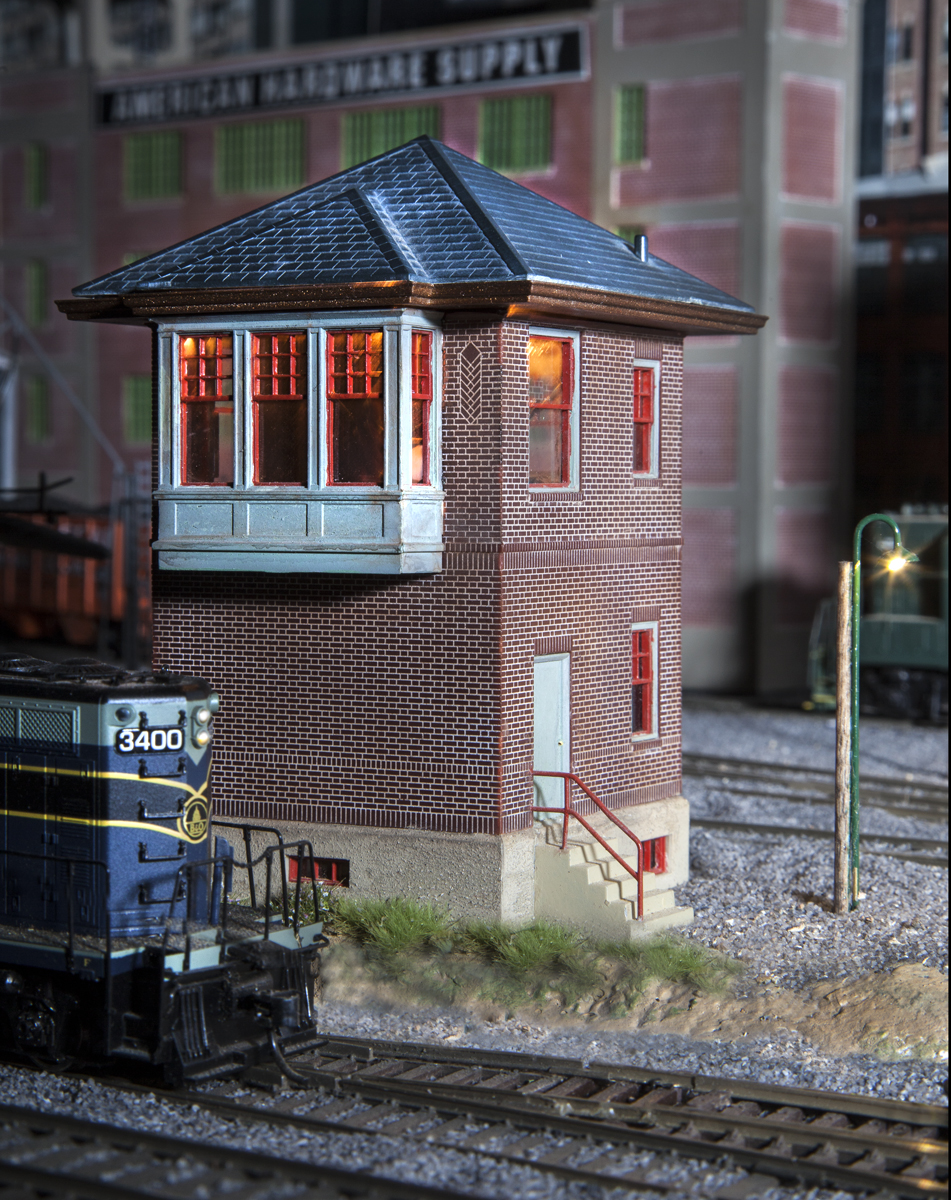
Town in blue night light only
Addition of the white Dimmable light should give a night effect, but still be better able to see.